
Getting started with xonAPI+: from key to first breach check in 15 minutes
You signed up for xonAPI+ and you have a sprint ticket that says "add breach detection." Good news: this is one of the shorter tickets you'll close this month. One endpoint, one header, JSON both ways.
Here's the whole path, from empty dashboard to a working breach check, with every command you'll need.
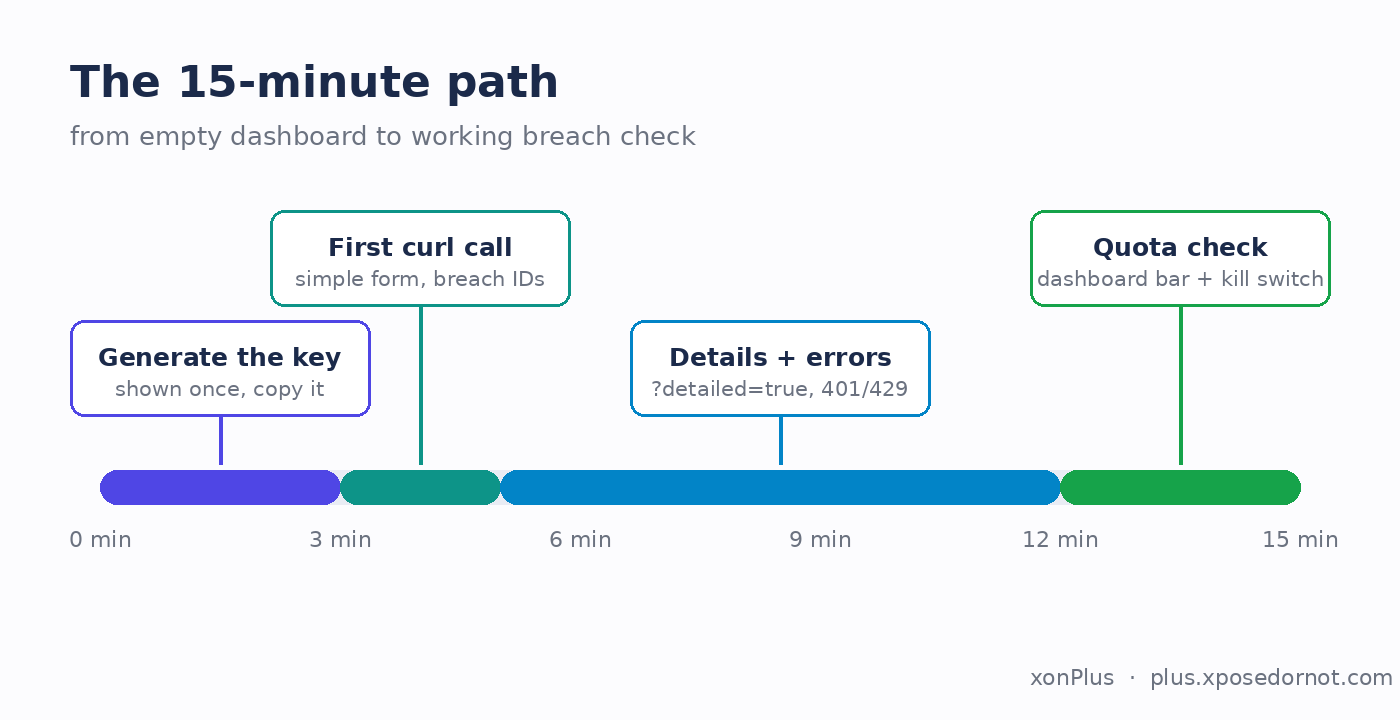
Minute 0 to 3: generate your key
In the console, open API+ and head to the Dashboard. Click Generate New API Key.
One thing to know before you click: the modal that pops up is the only time the full key is ever on your screen. Close it without copying and the dashboard will only show you the first 4 and last 4 characters from then on. There's no recovery path either. Lost key means new key.
Where to put it? An environment variable or a secrets manager:
export XON_API_KEY="paste-it-here"Not in your source, and never in browser-side code, because a key in the frontend is a key everyone has. Every command below assumes $XON_API_KEY is set.
Minute 3 to 5: your first call
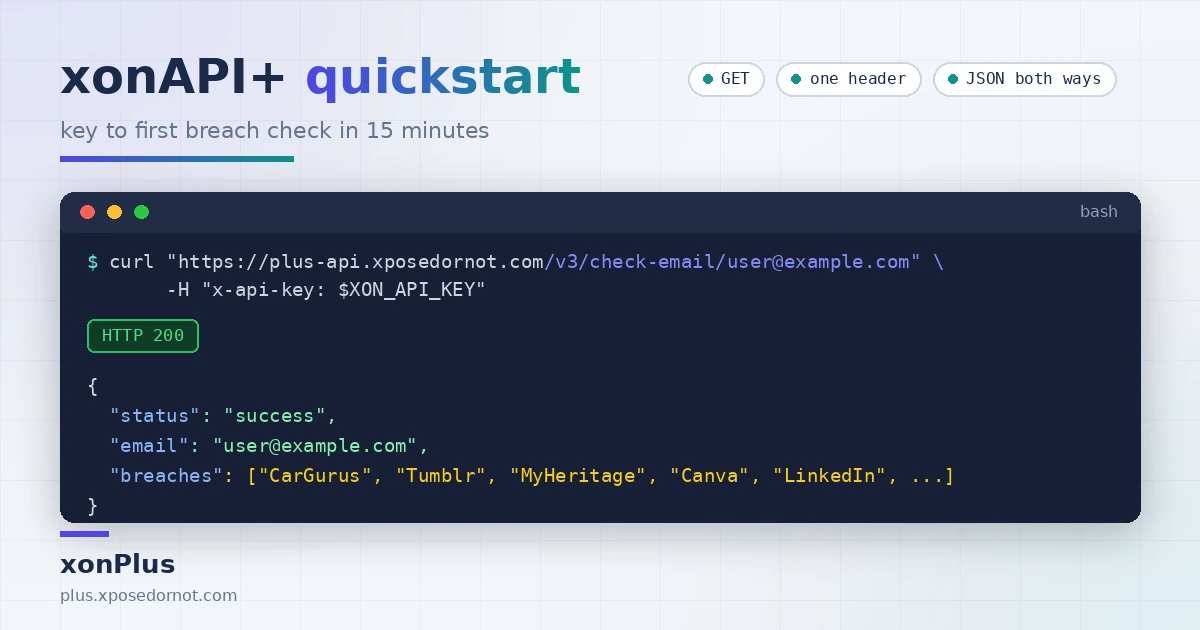
The endpoint checks whether an email address appears in any known breach:
curl -X GET "https://plus-api.xposedornot.com/v3/check-email/[email protected]" \
  -H "x-api-key: $XON_API_KEY"
The default response is deliberately small, just the breach IDs. The actual output looks like this ([email protected], being the whole internet's favourite test address, comes back with well over a hundred breach names, so the list below is trimmed):
{
  "status": "success",
  "email": "[email protected]",
  "breaches": ["CarGurus", "Tumblr", "MyHeritage", "Canva", "LinkedIn", "..."]
}
And here's the part that trips people up on day one: a clean email is not an error. If the address appears in nothing, you still get HTTP 200 with an empty array. That response, captured as-is:
{
  "status": "success",
  "email": "[email protected]",
  "breaches": []
}
So resist the urge to treat an empty list as some kind of failure. For the person whose email you just checked, empty is the best news there is.
Minute 5 to 8: get the full picture
Sometimes a bare yes or no isn't enough to act on. One query parameter upgrades it:
curl -X GET "https://plus-api.xposedornot.com/v3/check-email/[email protected]?detailed=true" \
  -H "x-api-key: $XON_API_KEY"
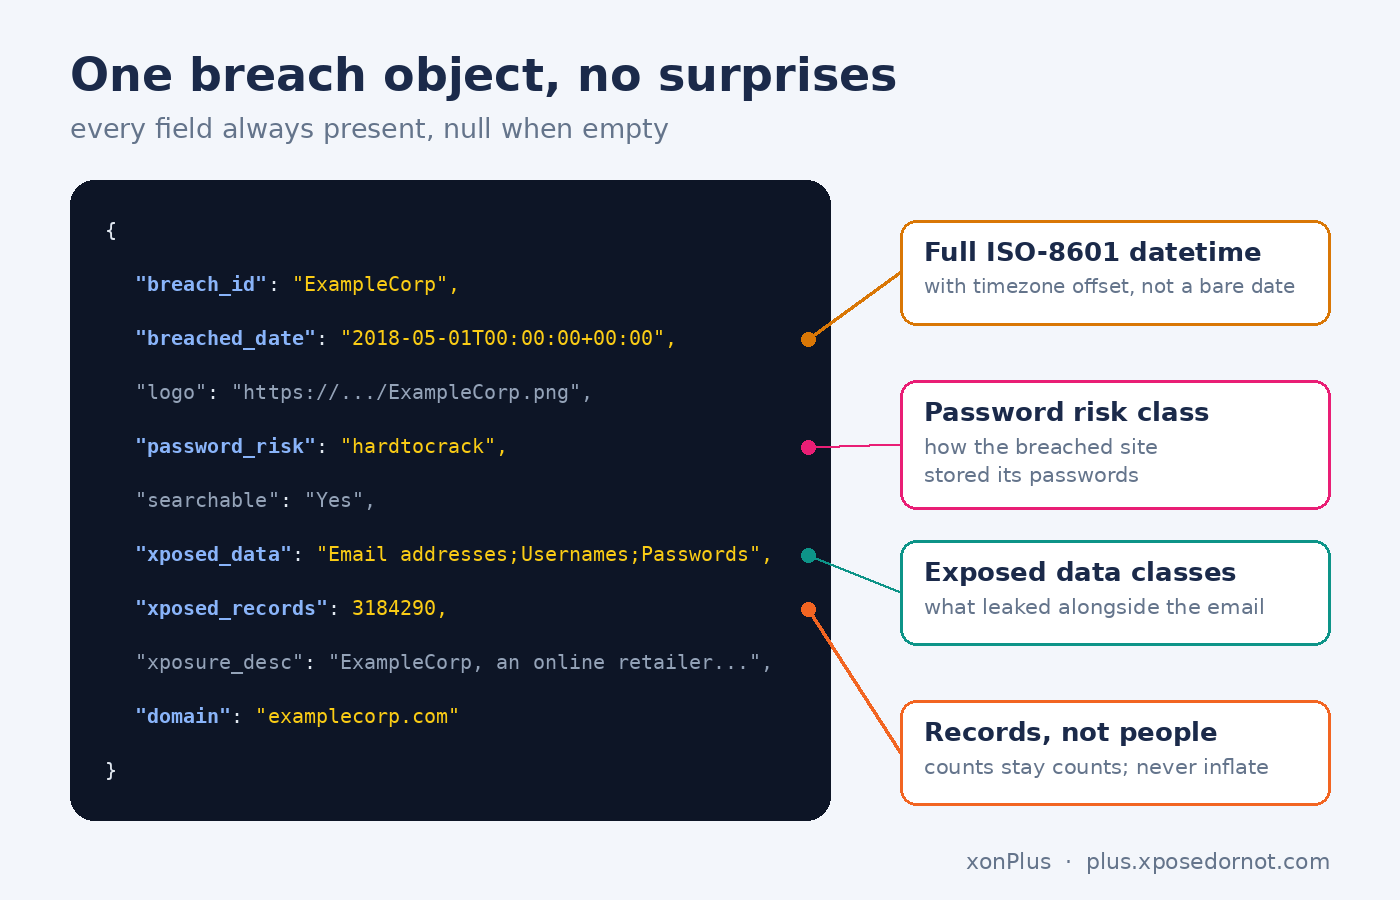
Each breach in the list now arrives as a full object. You get the breach date, the data classes that leaked, a record count, a note on how the breached site stored its passwords, a description you could paste into a UI, and the company's domain.
Two contract details worth knowing, because they make your parsing code boring (the good kind of boring):
Every breach object carries the same 9 fields, no exceptions. When there's no data for a field you get null, not a missing key, which means no .get() defaults and no existence checks cluttering your parser. Dates are proper ISO-8601 with a timezone offset too, not bare date strings, so breached_date drops straight into a datetime.
Don't take our word for the null part. One object from that same response makes the case, a credential collection with no single company behind it, so domain is null rather than absent:
{
  "breach_id": "Collection-1",
  "breached_date": "2019-01-01T00:00:00+00:00",
  "logo": "https://xposedornot.com/static/logos/combolist.png",
  "password_risk": "plaintext",
  "searchable": "Yes",
  "xposed_data": "Email addresses;Passwords",
  "xposed_records": 790803860,
  "xposure_desc": "Collection #1 is the name of a collection of email addresses and passwords that appeared on the dark web around January 2019. The database contains over 773 million unique email addresses, resulting in more than 2.7 billion email/password sets.",
  "domain": null
}
Same 9 fields, same shape, null where there's nothing to say. Your parser stays boring.
When to use which form? Simple, when you only need a boolean "is this address exposed". Detailed, when you're rendering breach info in a UI or your logic needs the full context of each breach.
Minute 8 to 12: handle the unhappy paths
Five responses your error handler should know about:
A 401 means your key is wrong, suspended, or was regenerated, and the body says so plainly: {"detail": {"status": "error", "message": "Invalid API key"}}. A 404 is a malformed email address, caught before any lookup happens, with the same shape of body ("Invalid email format"). Careful not to confuse it with "no breaches found", which is a 200 with an empty array. Forget the x-api-key header entirely and you get a 422 validation error instead of a 401. A 500 is on us, not you: rare, safe to retry with backoff.
The one worth writing real code for is the 429:
{
  "detail": {
    "status": "error",
    "message": "Rate limit exceeded. Please try again in 42 seconds.",
    "retry_after": 42.317
  }
}
The wait time lives in the JSON body as retry_after, in seconds, possibly fractional. There is no Retry-After HTTP header, so read the body, sleep that long, retry. That's the whole retry policy.
Every error arrives wrapped in a detail object with a plain-language message, so one log line covers the lot.
Minute 12 to 15: watch your quota
Two limits apply to your key: a monthly quota from your subscription tier, and a per-minute burst limit on top of it. A runaway loop hits the burst limit first, which is exactly what you want, since it turns a bug into a handful of 429s instead of a burned month of quota.
Back in the dashboard you'll find the monthly side as a simple "Used X out of Y" bar, with a daily call-volume chart underneath. The bar turns yellow past 75% and red past 90%, so a runaway loop shows up as a visual before it shows up in your logs.
While you're there: keys can be suspended and reactivated without changing the key value. That's your kill switch if anything ever looks off. Suspend first, investigate second, reactivate when you're sure. Existing integrations resume immediately because the key itself never changed.
What people build with this
The single endpoint turns out to be enough for a surprising range of features: checking a new signup's exposure during onboarding, a nightly sweep over your customer list, a SIEM enrichment step that adds breach context to an alert, or a "check your exposure" button inside your own product.
That last one is worth a pause. If what you're really after is offering breach visibility to YOUR customers, domain-level monitoring with white-label reports, that's a different product mode: xonThreatIntel+ covers it, and your account team can flip it on without a new signup.
And one boundary we keep bright: checking your own inbox or your own company's domain never needs a paid key. That stays free on XposedOrNot , forever. xonAPI+ exists for when breach checks become a feature of your product.
The reference, when you need it
Everything here, plus full response shapes and rate-limit details, lives in the API+ docs . And if curl isn't your speed, the xonAPI+ product page has official SDKs in 8 languages, Python and Node.js among them.
Fifteen minutes, one header, and your product knows something about breach exposure that it didn't know this morning.
Appendix: Sources and references
- Endpoint, response shapes, error codes: API+ documentation (Getting Started + API Usage pages)
- Product page and SDKs: plus.xposedornot.com/products/api
- Free self-checks: xposedornot.com